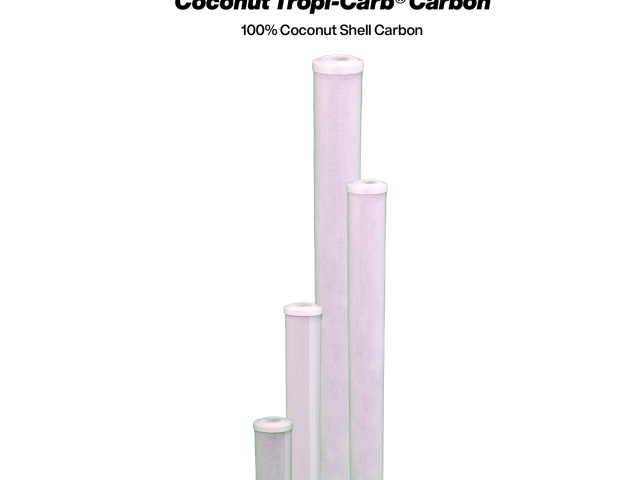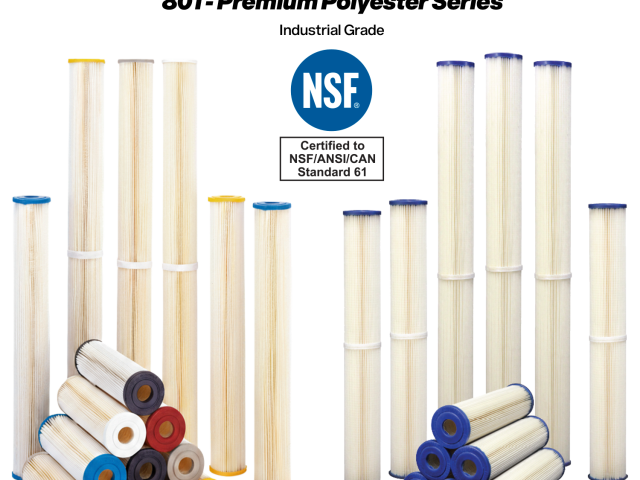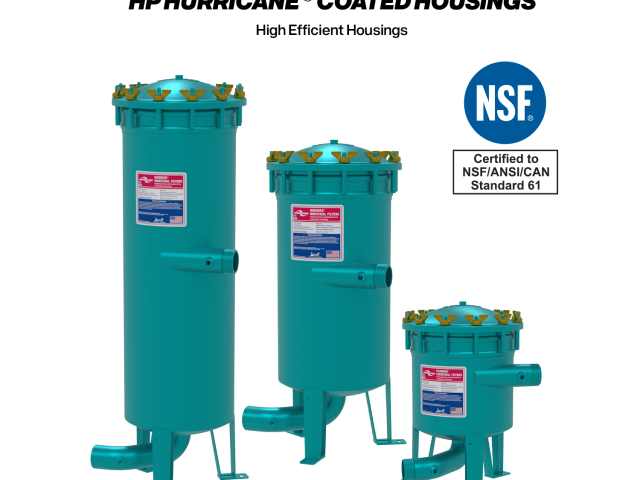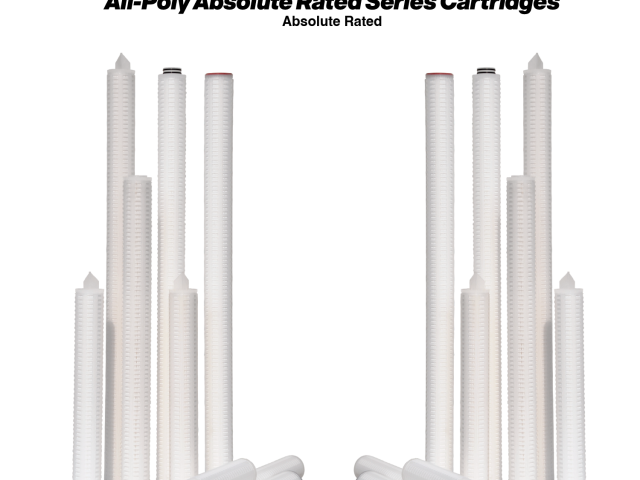
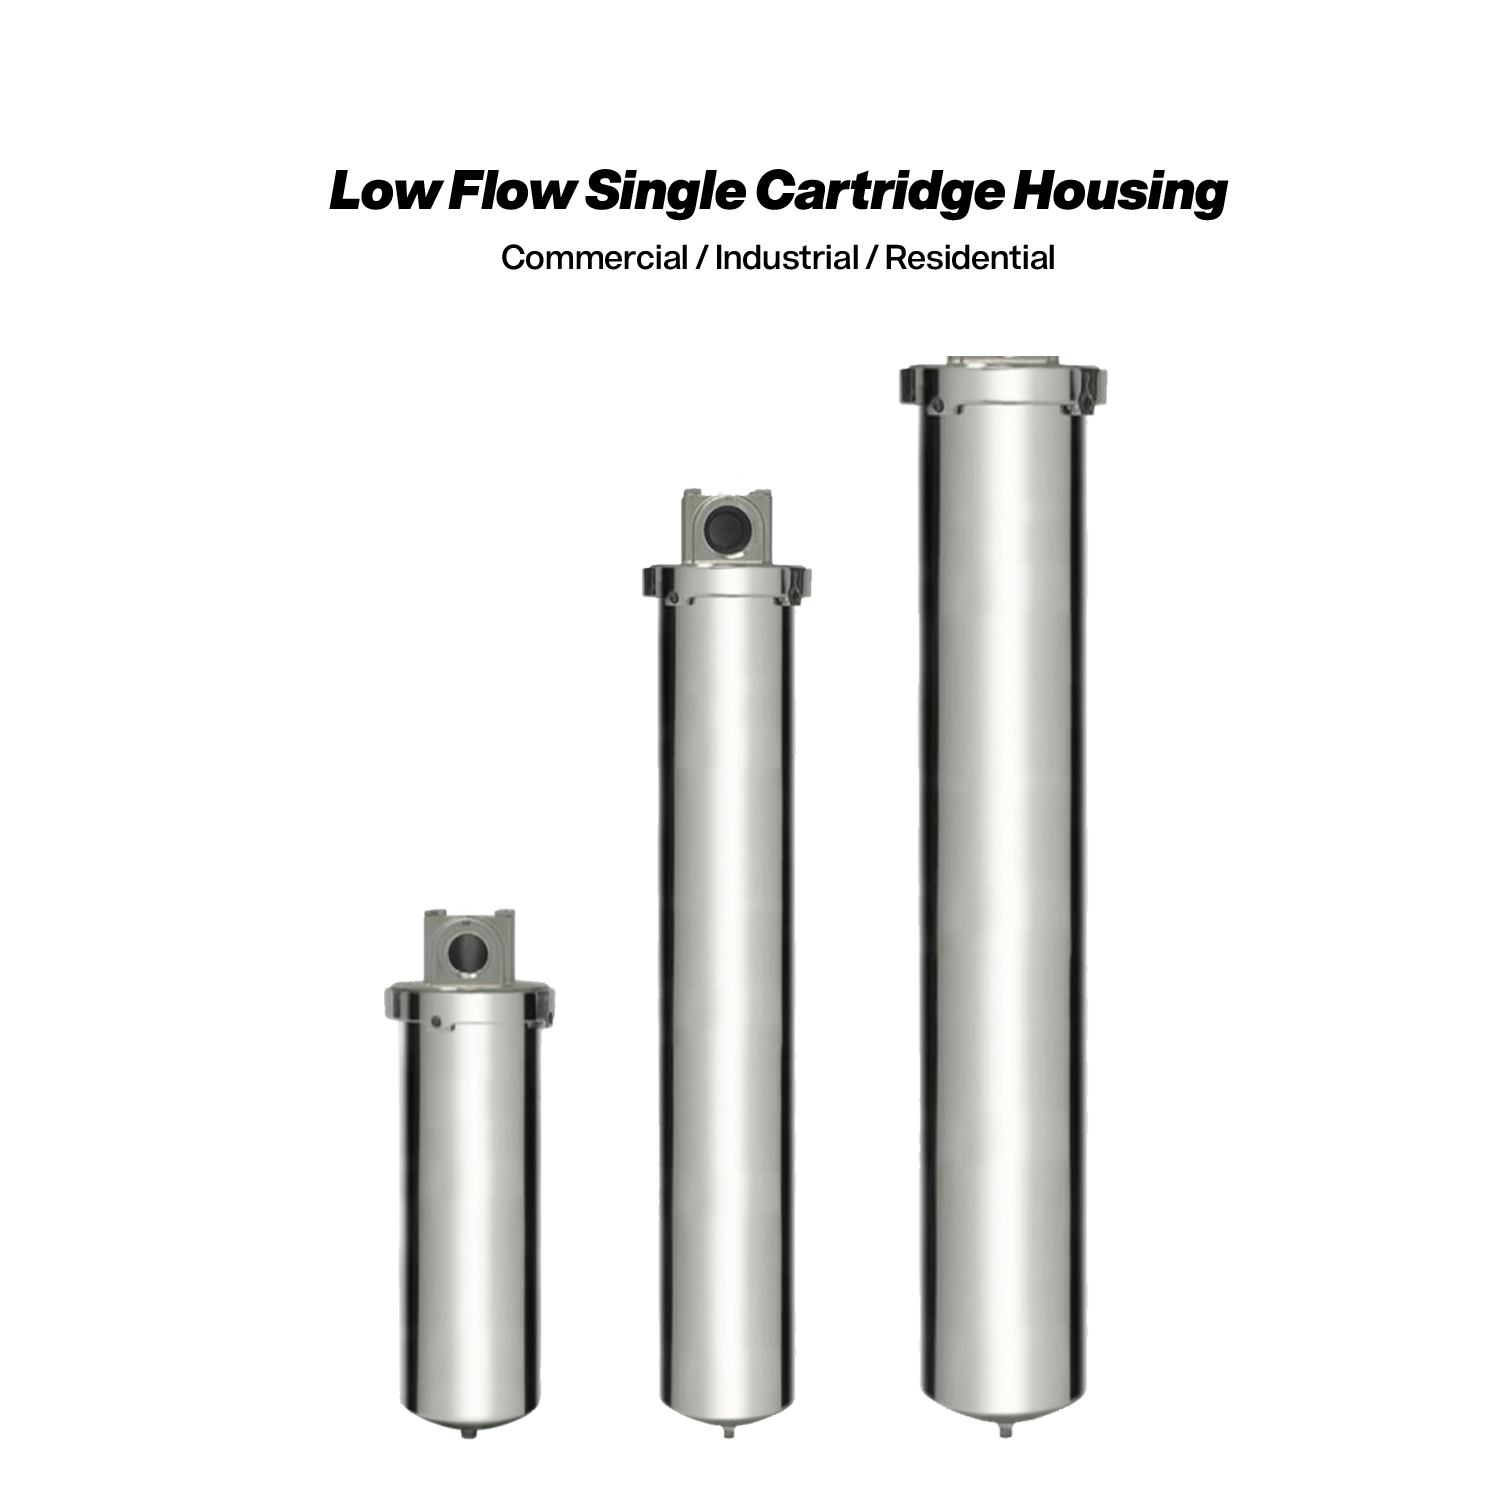
A stainless filter housing will outlive the pumps around it — if it’s installed right. Here’s how to install industrial filter housing systems the way our engineers like to see them plumbed.
1. Place It for Service, Not Just for Pipe Runs
Leave clear overhead room for cartridge removal (tall elements need their full length plus working space) and room to swing the lid. Harmsco swing-bolt closures open without special tools, but only if the housing isn’t buried in a corner.
2. Pipe a Bypass Loop
Install isolation valves up- and downstream with a valved bypass, so cartridge changes don’t interrupt the process. For continuous operations, duplex the housings and alternate.
3. Put Gauges on Both Sides
Differential pressure is how you know when to change elements. A gauge before and after the housing — or a single ΔP gauge — turns cartridge changes from guesswork into schedule you can trust.
4. Anchor and Support
A full 170-cartridge housing holds a serious water column. Anchor the legs to the pad, support inlet and outlet piping independently, and never let the housing carry pipe strain. All Harmsco stainless housings are rated to 150 PSI working pressure and built to ASME standards.
5. Startup: Vent, Fill Slowly, Check Torque
Open the vent while filling to purge air, pressurize gradually, and re-check closure hardware once at temperature. Then record your clean ΔP as the baseline.
Every Harmsco housing ships with installation documentation, and our Florida-based team answers real questions. Contact Harmsco before you pour the pad — placement advice is free.